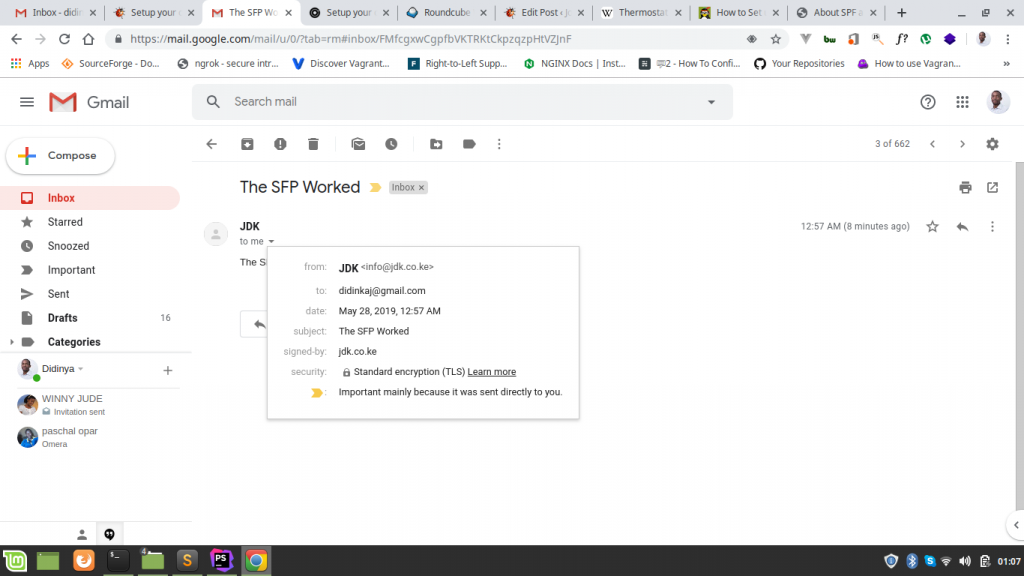
Authentication is a way to prove an email isn’t forged. To sign you self hosted emails and avoid them from being flagged as spam, here are the steps to follow.
SPF (Sender Policy Framework) record specifies which hosts or IP addresses are allowed to send emails on behalf of a domain. You should allow only your own email server or your ISP’s server to send emails for your domain.
- Create an SPF Record in DNS In your DNS management interface, create a new TXT record like below.
TXT @ v=spf1 mx ~all2. Configuring SPF Policy Agent
install required packages:
sudo apt install postfix-policyd-spf-pythonThen edit the Postfix master process configuration file.
sudo nano /etc/postfix/master.cfAdd the following lines at the end of the file, which tells Postfix to start the SPF policy daemon when it’s starting itself.
policyd-spf  unix  -       n       n       -       0       spawn
    user=policyd-spf argv=/usr/bin/policyd-spf
Save and close the file. Next, edit Postfix main configuration file.
sudo nano /etc/postfix/main.cfAppend the following lines at the end of the file. The first line specifies the Postfix policy agent timeout setting. The following lines will impose restriction on incoming emails by rejecting unauthorized email and checking SPF record.
policyd-spf_time_limit = 3600
smtpd_recipient_restrictions =
   permit_mynetworks,
   permit_sasl_authenticated,
   reject_unauth_destination,
   check_policy_service unix:private/policyd-spf
Save and close the file. Then restart Postfix.
sudo service postfix restartreference https://www.linuxbabe.com/mail-server/setting-up-dkim-and-spf